


I then added the "Two by Two" stamp and resized it to almost fill the space.

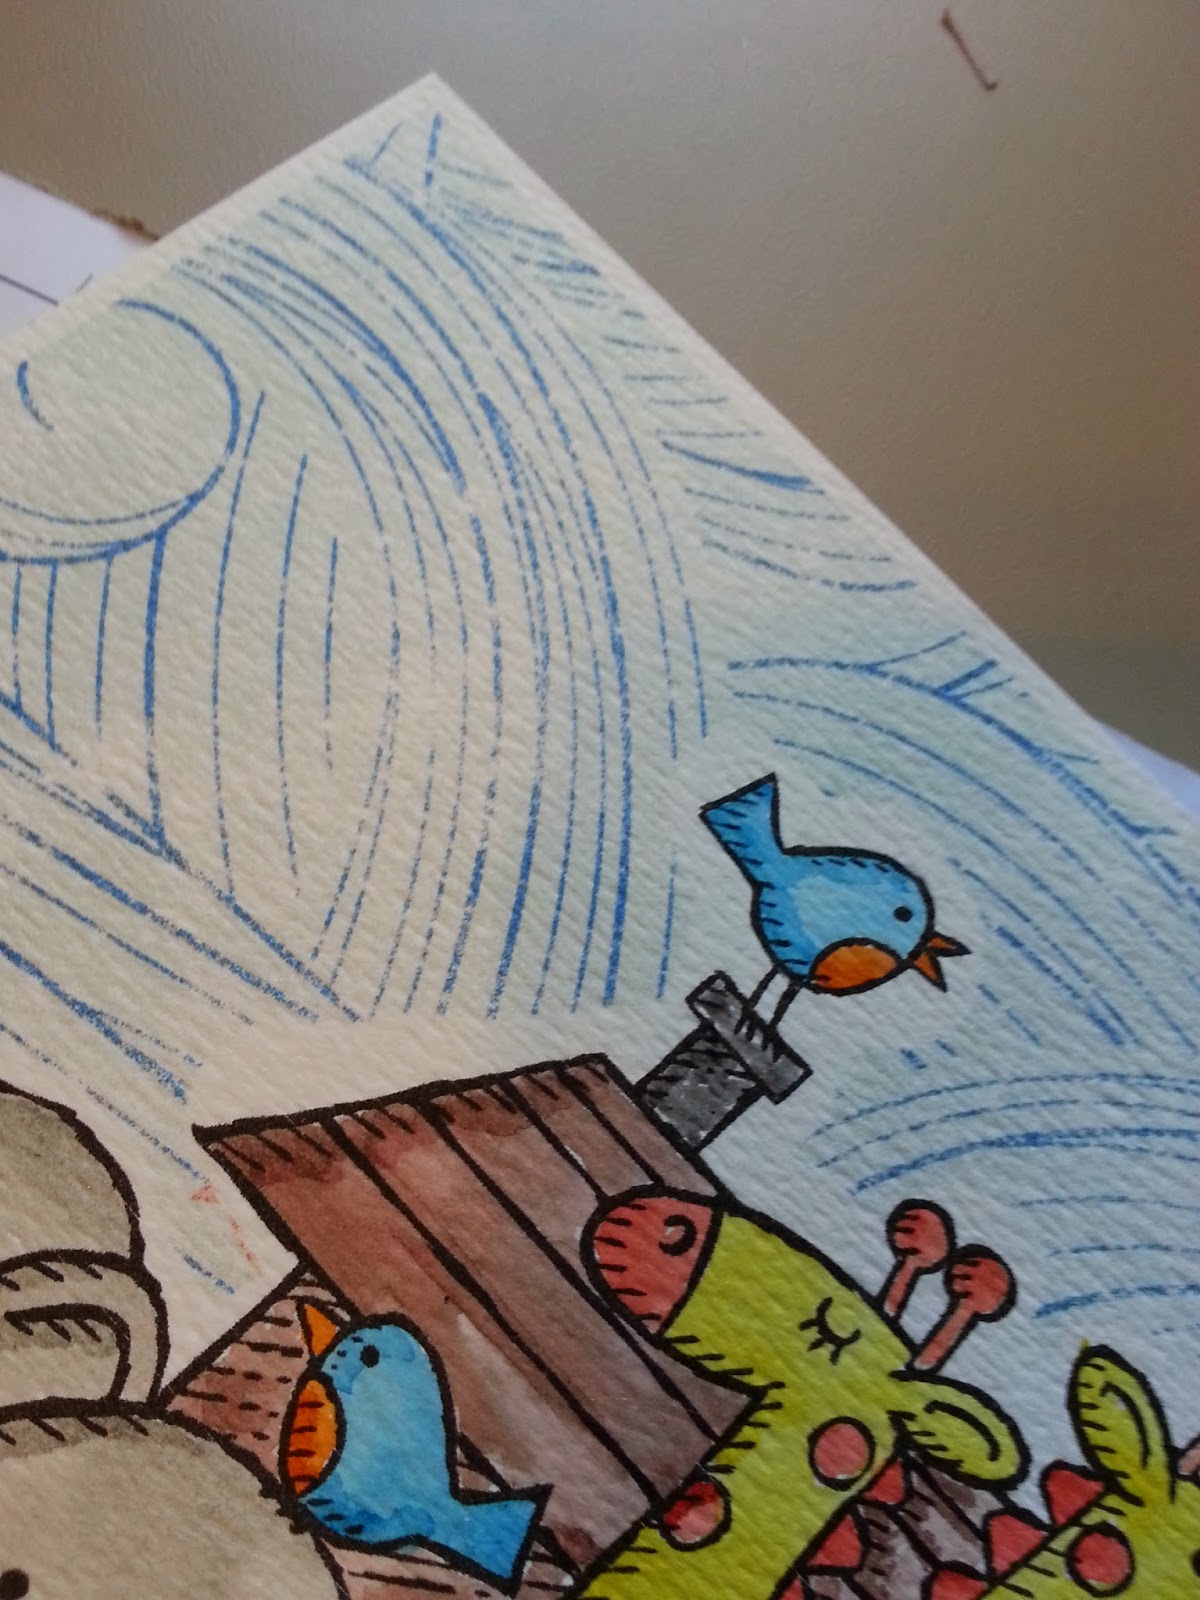
 Here I used the freeform brush in white to cover the ark image. You can be precise or go over the lines, depending on how you want your project to look. I wanted white all around my image to make it stand out from the waves in the background paper. Once you have your stamp covered, you can then send this free-form layer back once to reveal the stamp image again.
You can stop right here if you want to use your markers or Aqua Painters to color in the image. That is what I did in the photo at the top of the blog post. You can also go a few more steps to color your image in digitally. I wanted to give this a try too, so I inserted a "duplicate page" to my project so that I wouldn't mess up what I already had.

 See how good it looks? You can top here if you like, OR.....
you can add yet one more free-form box and add some highlights!


Here is a version where I added Noah's name and ribbon digitally.

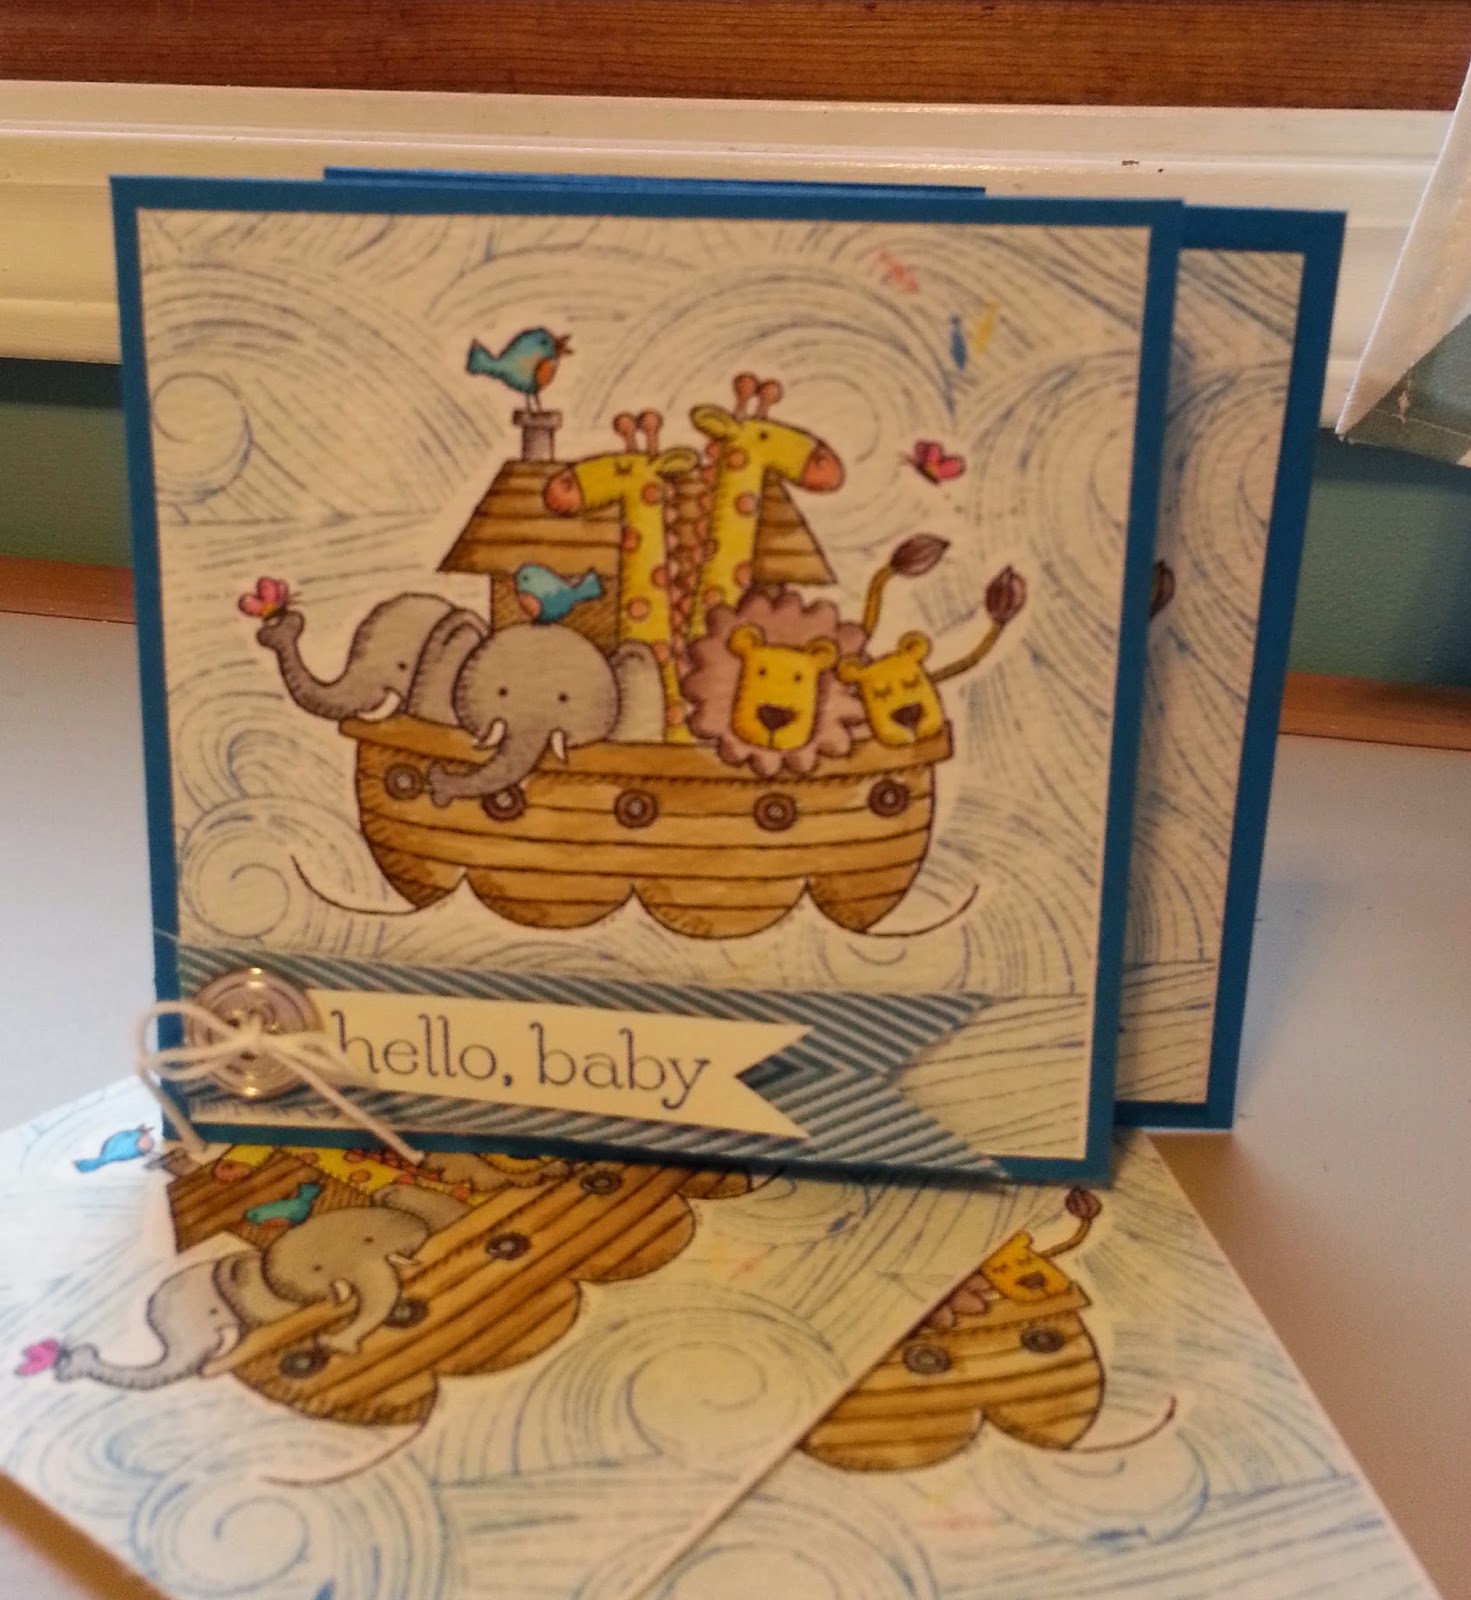
Here is a version of the digitally colored project made into a card. To make the project into a card I opened a new project page and added 4 four inch photo boxes. I then filled the photo boxes with the original project I had exported as a JPEG. I put 3 of the uncolored in versions and one digitally colored. I like to make the little cards as practice to try out colors before I paint my large one.

I cut them apart and attached them to a Pacific Point card base.
Below are some extra photos so you can see some close ups. I hope I have given you some ideas today! And I hope I have made the free form tool less scary!


Great explanations! Love the whole project!
ReplyDeleteYOU ARE A GENIUS!
ReplyDelete