Monday, March 31, 2014

MDS Monday #60

Hi everyone!  It's MDS Monday again and this time I am the one bringing the sketch.  Here is what I came up with.  We are also using the "recolor" tool to recolor an embellishment for an added challenge if you want to give that a try as well. 


Here is the card that I made for the sketch.  I recolored the ribbon, that originally comes in pastel colors, to black. 


I also made this version just for fun. 


Head on over to the MDS Monday site to see what the rest of the team came up with.  We hope that you play along with our sketch this week too!

Thursday, March 27, 2014

Two by Two frameable

Hi everyone!  I am making some more fun frameables with MDS!   I made this cute frame and card for my cousin's new baby boy, Noah.  You may remember two weeks back when I made a different card for little Noah when I mistakenly thought he was little Jonah : )  I made a fun Whale card by mistake!  So here is the corrected Noah project!   I printed the page out onto watercolor paper and painted the stamp with my Aqua Painters.


My home printer only prints 8 1/2 by 11 inch paper, so I started out by opening a project page in this size.  I then added an 8 1/2 by 8 1/2 inch punch box.  I filled the punch with this great new paper from the "High Tide" designer series paper download.  
I then added the "Two by Two" stamp and resized it to almost fill the space.  


Next I needed to use the "Free-form" tool to add a white background to my ark.  When you add a free-form box, it will show up in the center of your project.  Click off the page, then click back onto your free-form box and move it where you want it to be.  You may also need to resize the box to cover your project.  Then double click to get drawing with the brush.


Here I used the freeform brush in white to cover the ark image.  You can be precise or go over the lines, depending on how you want your project to look.  I wanted white all around my image to make it stand out from the waves in the background paper.    Once you have your stamp covered, you can then send this free-form layer back once to reveal the stamp image again.


You can stop right here if you want to use your markers or Aqua Painters to color in the image.   That is what I did in the photo at the top of the blog post.  You can also go a few more steps to color your image in digitally.  I wanted to give this a try too, so I inserted a "duplicate page" to my project so that I wouldn't mess up what I already had. 


To color the image digitally, I needed to add another freeform box so that I could color with the brush tool.  I added my box and zoomed in to 200% so that I could better see the details.  Looks pretty bad here doesn't it?  But when you send the layer back once, and your stamp image appears on top again, it feels like magic!


See how good it looks?  You can top here if you like, OR.....
you can add yet one more free-form box and add some highlights!


In this last layer I added a darker shade over all the little shadow lines.  I added arrows so you can see where I mean.  Then send that layer back and see what you think.


Here is a version where I added Noah's name and ribbon digitally.


Here is a version of the digitally colored project made into a card.  To make the project into a card I opened a new project page and added 4 four inch photo boxes.  I then filled the photo boxes with the original project I had exported as a JPEG.  I put 3 of the uncolored in versions and one digitally colored.  I like to make the little cards as practice to try out colors before I paint my large one.


I cut them apart and attached them to a Pacific Point card base. 


Below are some extra photos so you can see some close ups.  I hope I have given you some ideas today! And I hope I have made the free form tool less scary!


Digitally painted on the right, Aqua Painters on the left. 

Tuesday, March 25, 2014

Silly Digital Easter card

Several years back Stampin' UP! had a fun chocolate Easter bunny stamp that I had some fun with this time of year.  When it was discontinued I sold it and recently wished that I hadn't.  Then I thought I would see if it was available digitally and it was! yea!  So, I made this silly card with it. 


The stamp is actually the one on the left.  I didn't want to see the sky through my bunny, so I needed to color behind him.  This is where that "Free Form tool" comes in handy.  When you open the free form tool, you will get a box.  Position the box over your stamp area, you may need to expand or shrink your box to cover your stamp. 


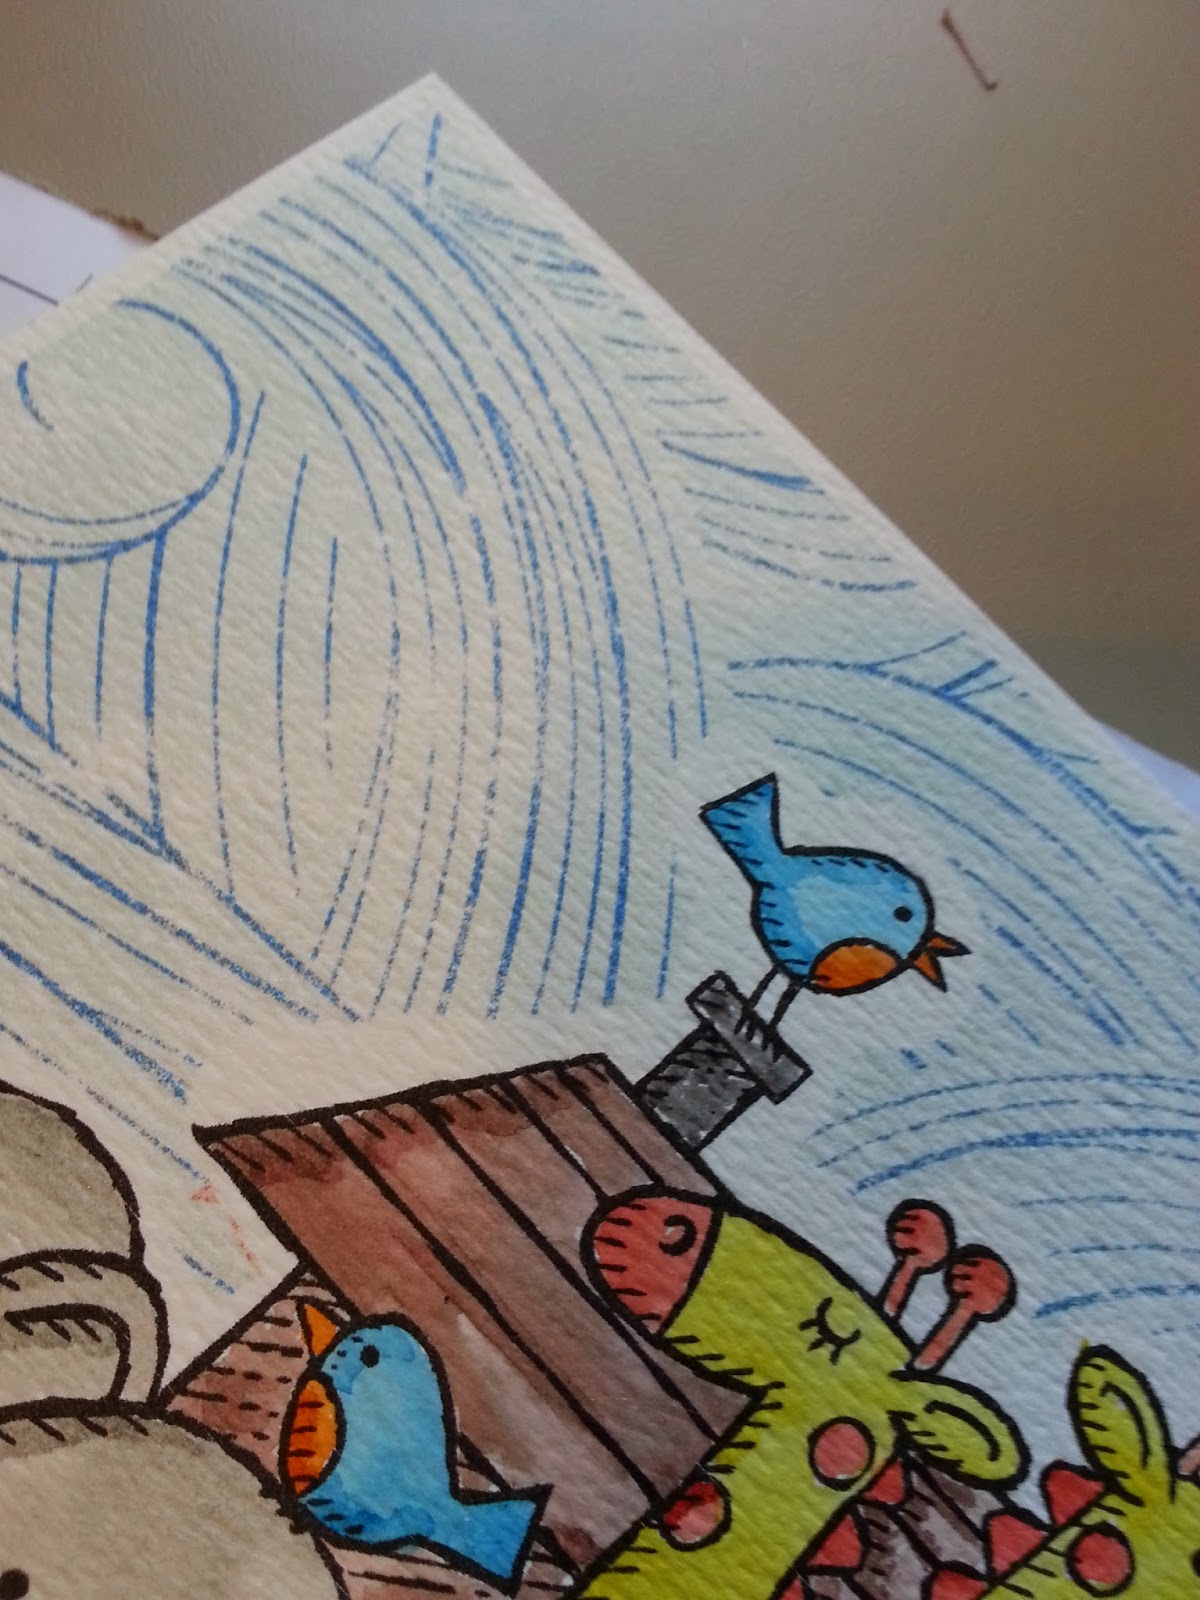
You can make your brush tool larger or smaller depending on what details you may need.  In this picture I have started filling in the stamped area with a lighter shade of brown. 


Here I have finished covering the whole bunny.  Now I will send this layer back one layer so that the stamp is revealed on top again.


To take the bite out of the ears I added a scallop circle punch and positioned it over the ears.


Then match the punch to the sky and your bunny just had his little ears eaten off. 


A silly card I know.  I remembered making something similar when I had the bunny stamps, so I wanted to try it digitally.   Glad to know I can still use my little chocolate bunny stamp, and that my digital stamp will never retire :)

Monday, March 24, 2014

MDSM #59

Heidi had a fun sketch for us this week at MDS Monday!  I chose to use these fun pictures of my daughter getting ready to go to her first dance.  She was very excited to go to the Father / Daughter dance a few weeks back.  I let her pick out her own dress (thankfully she picked something nice)  and she practiced dancing for days before heading out with daddy.    The paper I used is from the Mailbox Love Digital Class.  


Here is the sketch.  Now head on over to the MDS Monday site to see what the rest of the team created.  We hope that you will give the sketch a try too, and that you will share your creation with us! 

Wednesday, March 19, 2014

Scrap-page postcard

Yesterday I showed you some pages that I made with the Finest Simplicity download.  I thought I would also show you a small postcard project that I made to match.  Jillian was invited to go to lunch with some friends to celebrate a birthday and I made the pages to go into my 12 x 12 book.  I also have a small photo album that Jillian keeps in her room with photos that she has gotten from friends as well as these 5 by 7 postcards that I make for her to remember fun events.  She keeps cards in it, or drawings from her friends or herself.  I thought since I was going to print up a postcard for her, I would print one for each of her friends that were there too. 
Here is the back.  It is fun to make these little postcards.  I have made them for the kids in my religious ed class too.   They can put them on their bulletin boards or little scrapbooks.   They are a great price at $1.45 (less if you are getting 10 or more).   Keep them in mind when you send out thank you's to the kids who attend your child's birthday party, or to commemorate a family gathering.

Thanks for stopping by!

Tuesday, March 18, 2014

Finest Simplicity digital class

I really liked the look of some of the pages made by Heather Summers and Tami Hewlett using the Finest Simplicity download class, so I decided to use them as inspiration for my pages this week.   The Finest Simplicity Downloadable class is a really fun download and it comes with a couple videos that take you step by step in creating 3 digital projects and while you are doing that, you are learning a lot of the functions in MDS.  The videos take you through the resource pallet and show you ways to it to its best advantage, and the videos are perfect for beginners because they take it slow and explain each step as they go.  For me, I love the papers and the embellishments in this kit. 
It comes with a lot of fun stamps too and I really love the soft colors.   I am sure I will use this kit a lot more in the future.
Did you know that digital downloads also count for Sale-A-Bration?     If you spend $50 on Downloads you can get a Free Sale-A-Bration download!  It is somewhat hard to spend $50 on Digital Downloads, as they tend to be very inexpensive, but some of the larger kits are really great and there are a few classes that are  higher priced too, so this is a great time to get them.   No tax and shipping on downloads and you get them right away, so you can start designing your projects instantly.   Feel free to contact me if you have any questions.  


Monday, March 17, 2014

MDS Monday #58

Hi everyone!  It's MDS Monday time again.  This card sketch is brought to you by Holly.   I have to admit that I had a hard time deciding on papers to use.  I must have changed them four or five times.  One of the best things about working digitally is the delete button sometimes :)    I really liked I baby card that one of the MDS Blog hop team members made last week and decided to use one of the ideas from it to make this card.  Rochelle's card used a text box filled with the baby's name as a nice background.  I decided to do something similar with the word "Happy", which worked well with the sentiment about never having too much :)


Here is Holly's sketch.  I hope that you play along and give it a try as well.   Head on over to the MDS Monday site and see what the rest of the team has come up with. 
Thank for stopping by!

Friday, March 14, 2014

Welcome Baby


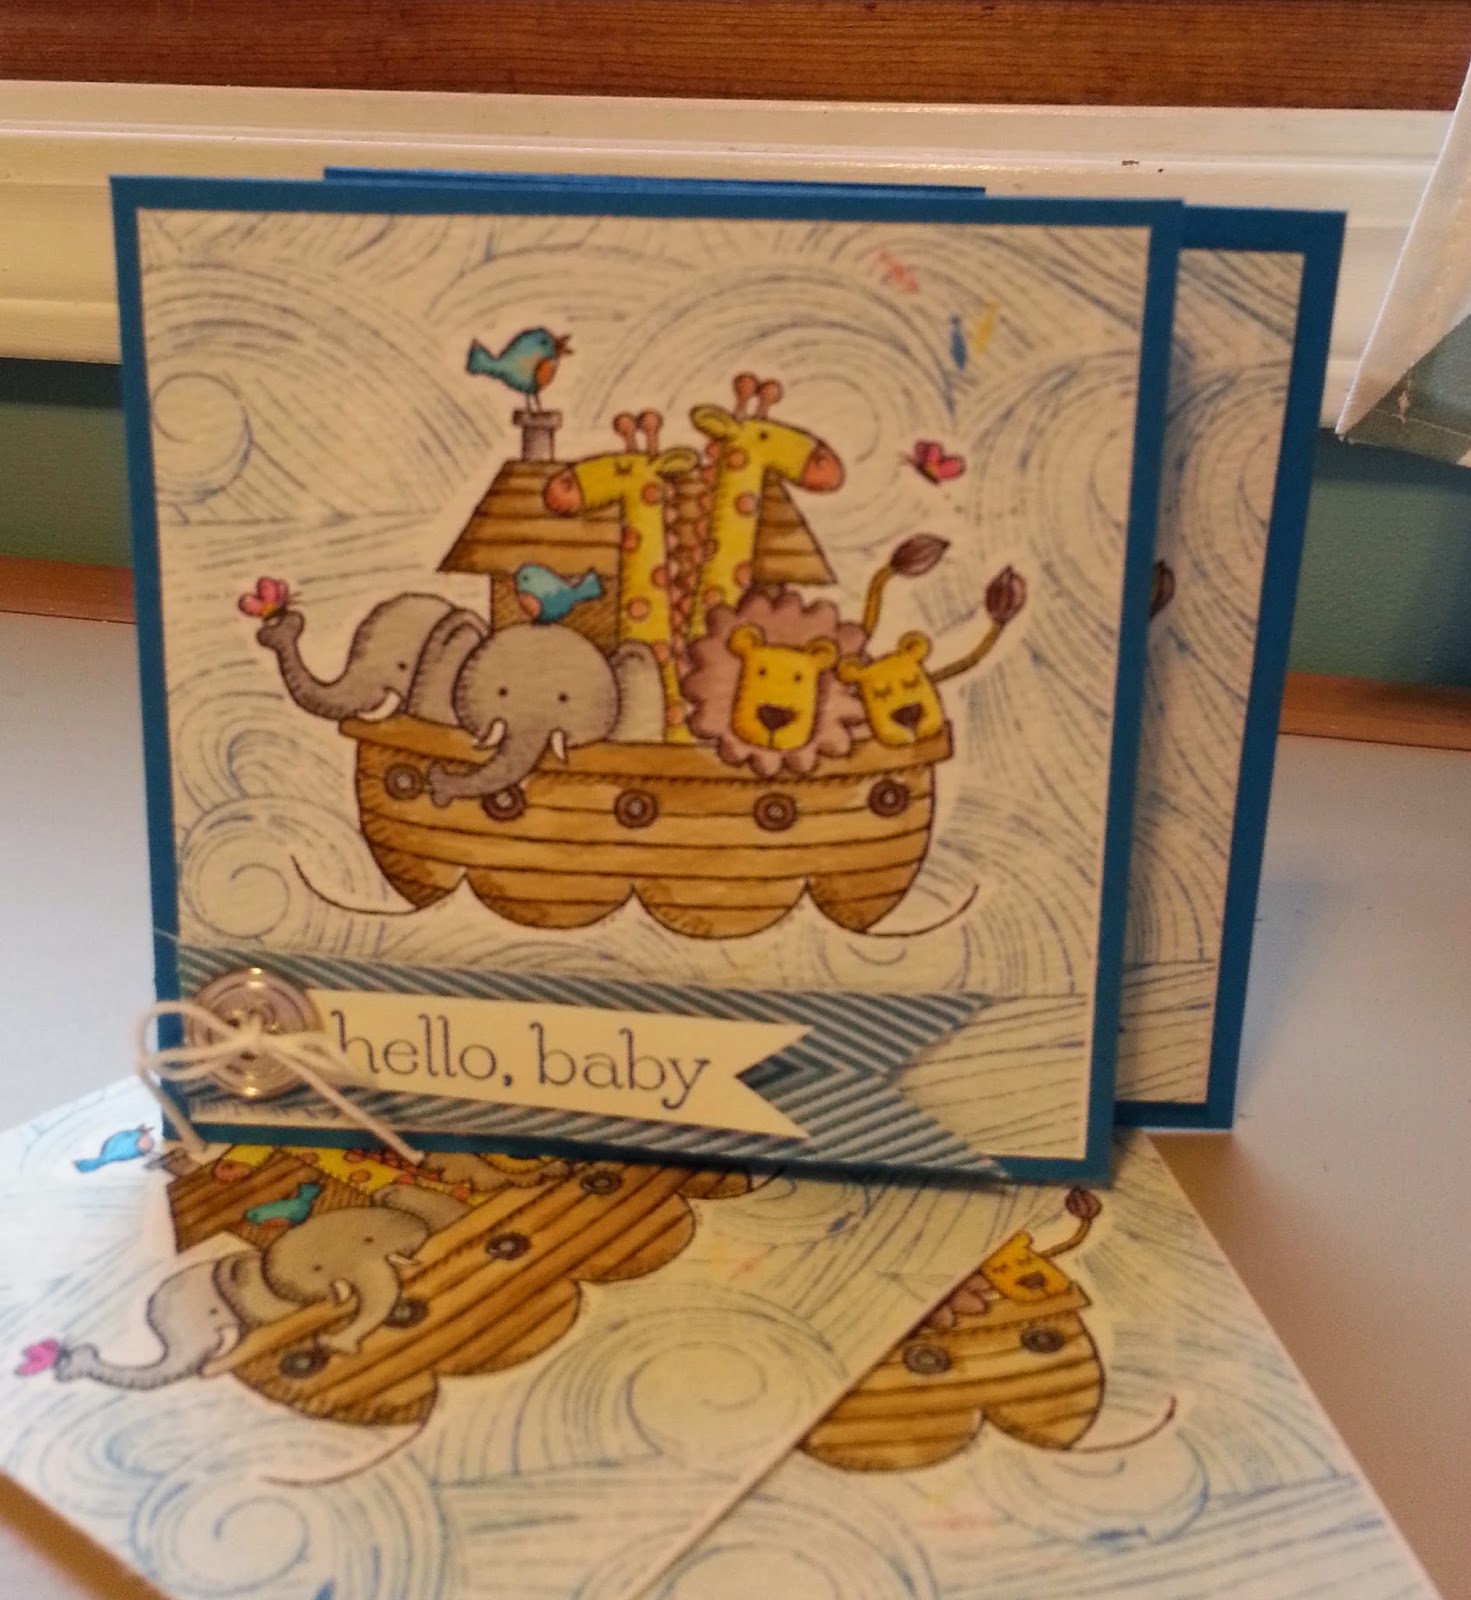
Hi everyone!  I am using MDS to make a cute Baby card for my cousin who just has a little baby boy.  I thought I was being all brilliant by looking in my stamp files for whales because I had it in my head that they named their cutie Jonah.  So this is what I came up with.  As soon as I was done I showed it to my husband who said "You told me the baby's name was Noah."   Well, Duh, I sure did.  So now I have a cute little baby card ready to go for an as yet unnamed baby.  I will remake a card for Noah with the "Two by Two" stamp.  :)
For the whale card I added all the elements I wanted to use to an 8 1/2 by 11 page.  I then printed them out and cut them out.  I just used my paper snips and paper trimmer.  I ended up not using the separate waves.  I just love how I can resize the stamps in My Digital Studio.  And I added that fun sun to the paper too!  That is not in the original paper.  I used the Sunshine and Sprinkles kit and Oh Whale stamp sets.   
Thanks for stopping by! 


Thursday, March 13, 2014

MDS BLog Hop

Hi everyone!  I am participating in an MDS Blog Hop today on my "Beth's Paper Cuts" blog. 
I made this 12 x 12 Holiday project with two digital stamp downloads and my new Cameo Silhouette e-cutter.  Head over to my paper blog to see closer views. 
Beth's Paper Cuts


Dasher digital Stamp $1.95


Snowflake Soiree digital Stamp $3.95
also comes with a fun Christmas card template.

Sunday, March 9, 2014

Endless Winter

Hi Everyone!  It's Monday and you know that means MDS Monday! YEA!  This week Tami has a great sketch for us.   This is the type of sketch that lets you add a lot of photos to a page and sometimes that's just what you need.  I had a lot of photos of the kids playing with the snowmobile last weekend, so it was the perfect choice for the page.  Tami has also added a video tutorial for how to add the film strip to your page.  Head on over to the MDS Monday site to see what the rest of the team has done with the sketch.  Then watch the video and give the sketch a try of your own!  We would love to see what you do with MDS!


Here is the sketch.


I used the Watercolored Winter Kit for my page,
  # 136678    $9.95


 Candid Frames # 129929    $2.95


Thanks for stopping by!

Friday, March 7, 2014

Which way does it go?

I am joining another sketch challenge today from Pixel Maven's Retreat.  When I was making the card, I couldn't decide which way to take the sketch.  So, might as well do both!   I think I like the top version better. 
Joining sketch challenges are a great way to make yourself practice and use your MDS Software.  The more you use it, the easier it will become.  The easier it becomes, the more you will use it and the more you will enjoy using it.  I seriously use the software 5-6 days a week.  Probably 7 but I didn't want to seem crazy :)  Will I print out this card?  maybe, maybe not.  I don't print them all.  It's nice to know they are there if I want them.  I'll send a few favorites off to be printed when I place a print order for my pages.  I do print all my scrapbook pages.  Even if I already used the photos in another page.  I love my pages. 
Why not join a sketch challenge today? Here is a link to MDS Monday Challenges too!  You can go back and do past sketches too!


Thanks for stopping by!!   My cards use the Retro Fresh papers and This and That Retro Fresh Embellishments.